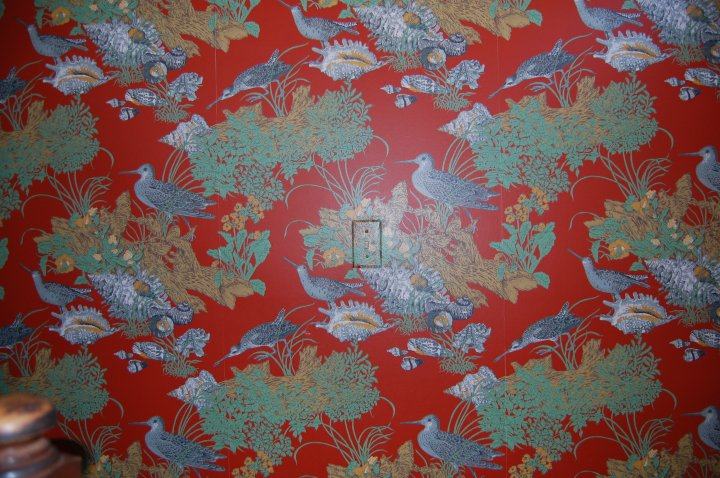
Besides covering the majority of the 2nd floor with horrific bird
wallpaper, the previous owner, in an effort to add more resale value to the home, installed hardwood floors and granite countertops in the kitchen. If not for these last two things I may have wanted to just gut the room and start from scratch.

 The cabinets were just rubbish, for lack of a better word, and always bothered me.
Besides being poorly made, they were a dull stained wood. New cabinets can be obscenely expensive and even refacing cabinets, while cheaper, is still quite costly.


We did what we could to make it a little nicer. Took down the crumbling chair rail and painted the hospital-white walls a sassy red...
But those cabinets still bothered me so I formed a plan. Instead of buying new cabinets or refacing the ones we had, I would use some leftover paint and create the cabinets I really wanted.
Warning, you have no idea how cluttered your kitchen will look until you take off all your kitchen cabinet doors. Only then will everyone see your inner most secrets. Such as having both crunchy and creamy peanut butter available in your cabinets or the exorbitant amounts of oils and balsamic vinegars you require in your kitchen at all times.

Once we took off all the cabinet doors my clever husband drew a diagram, numbering each one to take the guess work out later. I highly recommend this.

Next you need to decide if you want/need to sand before painting. I was dreading this but I am a big believer in having the best surface you can have before you paint it. Deciding to sand, and painting a cabinet in general, depends on what your cabinets are made of. I was convinced my cabinets were made from cardboard so you can imagine my delight when Stan, a retired painter and current HD employee, told me it was actually oak (albeit a cheap one). He also assured me I could skip the sanding if I used a TSP Substitute instead. *Disclaimer - I cannot say this would work for everyone, but it did the job for me.*

Once I wiped down the cabinet doors, drawers, and structure with the TSP Solution, I began painting the cabinets. I put the cabinet doors face down on the tarp and painted the inside of the doors first, figuring if I messed up in the beginning people wouldn't see the inside as often as they do the outside. Clever, right?


The drawers were pretty simple, I didn't bother to empty them. Just propped them up with old paperback books and painted the front of them.
I then wiped down the cabinet frames with TSP Solution and painted 2 coats on there as well. It goes without saying that you need to section off everything with painter's tape and cover anything you don't want paint on with a plastic tarp.

Here is the end product:


Paint and new hardware is a cheap and easy solution to upgrading your kitchen. Next entry is a new backsplash....
~ B
I miss the wallpaper.
ReplyDelete