Showing posts with label Cabinets. Show all posts

Tuesday, October 15, 2013

Crackled Kitchen Crates

As much as I love my updated cabinets, I am always looking for a bit more storage in my kitchen. Something that wouldn't take up too much room but could hold things I use daily (coffee, sugar, bowls, etc.). I found some inspiration at the amazing blog: DIY Vintage Chic and while my project looks a bit different, I always like to give credit where it is due. I have seen wooden crates at Michaels and decided to put my 40% coupons to work.


Just a quick note, the crates are not perfect and no amount of sanding will get them perfectly smooth or measuring identically but they were about $7 each so I can't really complain.


First, I used a gray primer from Home Depot. Historically I've used white primer but because of the weathered look I was going for, I wanted the base color to be gray. 


Spray painting is such an easy, convenient way of painting or priming an object, especially a crate with slats that a brush would have a tough time getting between.


All three crates were now primed.


I wanted these crates to have the white weathered look you sometimes see in Cape Cod.


I filled a red solo cup with a little of Martha Stewart's Weather Crackle Effect, grabbed a soft bristled brush, and got to work.
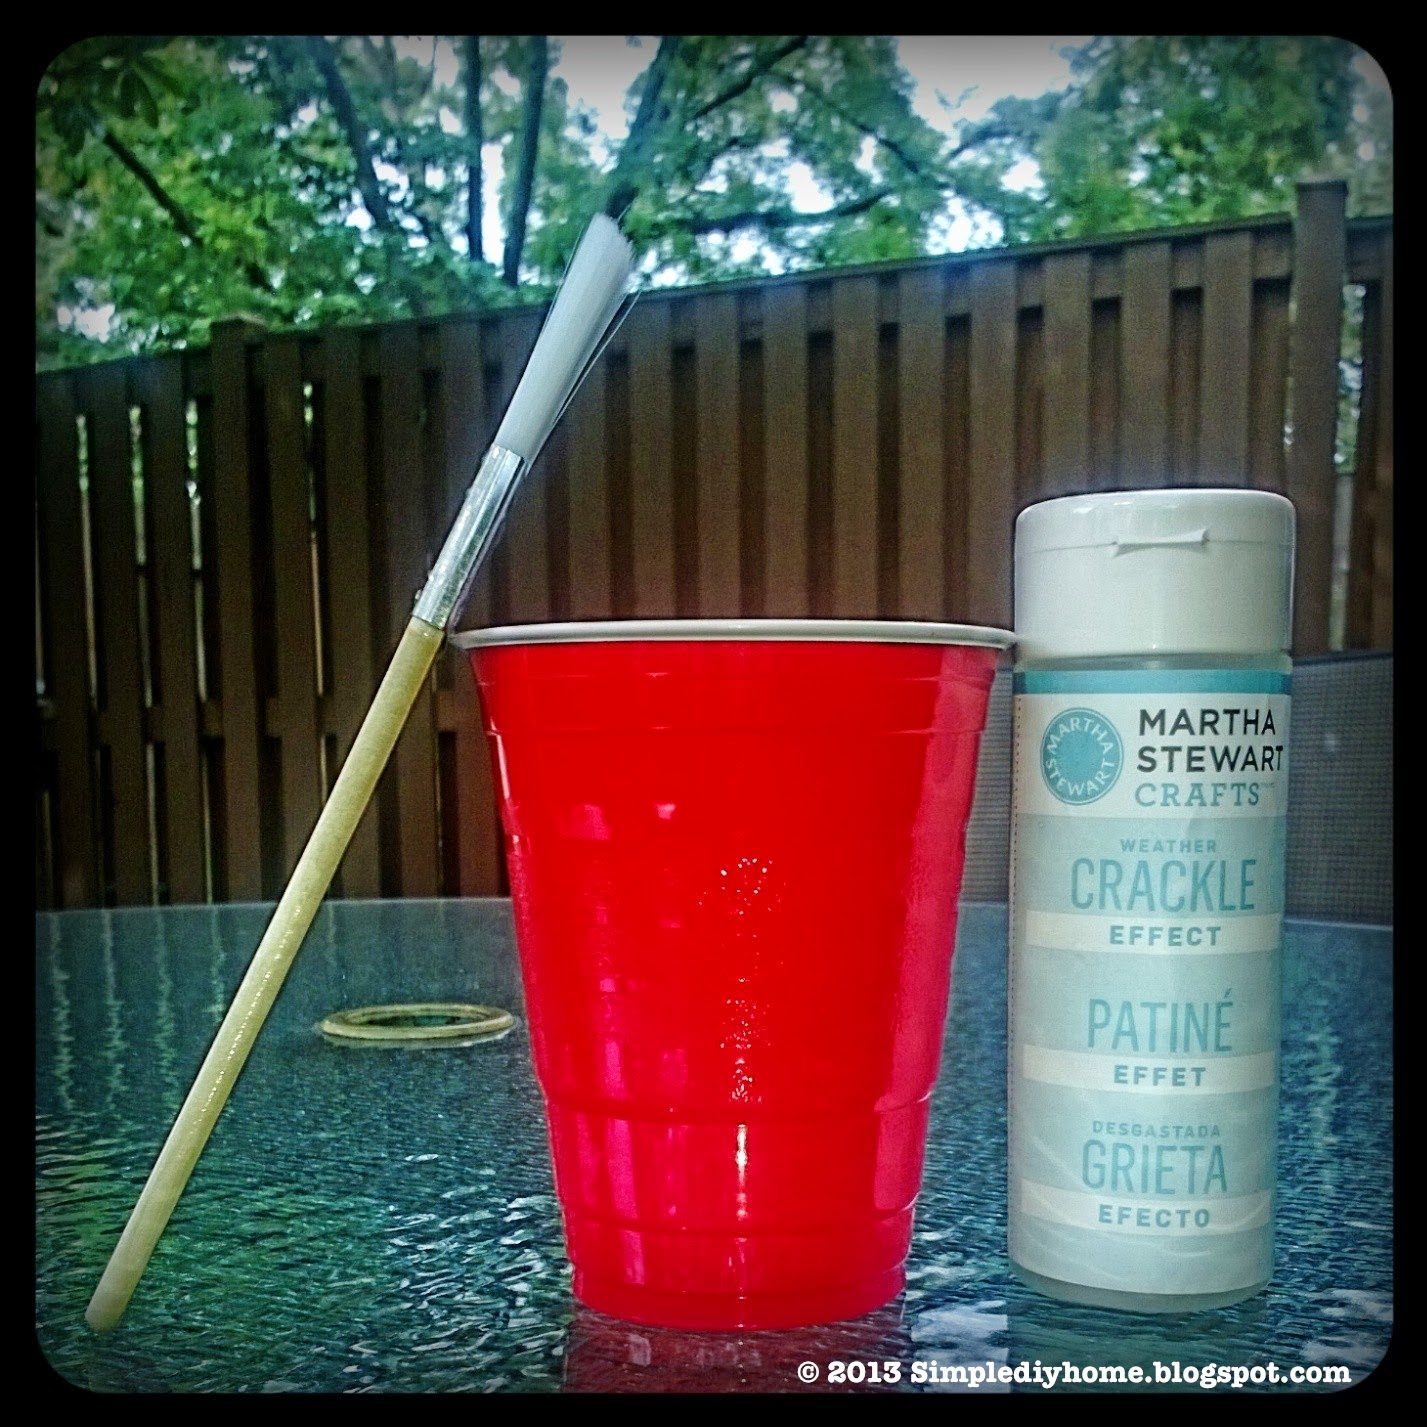

This is NOT the Martha Stewart Crackle Effect you would find at Home Depot. I considered that but read a few not so great reviews and decided to use the craft type found at Michaels and most other craft stores.


I promise you, my hands are much smaller and cuter than how they look in this picture. Anyway, I lathered (for lack of a better word) on the weathered crackle effect finish all over each crate. The directions said to wait "until dry" before applying paint over it but I painted the side of one crate once it dried and felt the crackle effect wasn't quite prominent so I stopped painting. I'm glad I did.

 I grabbed my paint the next morning to try again.


I used a shade of white acrylic paint (Wedding Cake) and covered each crate with ONE coat. You don't see the weathered/crackle effect until you paint over it and that layer of paint dries. I'm glad I waited overnight to paint the rest of the crates because I was able to get the look I wanted:


Since I was balancing the crates on top of each other I wanted to connect them so they wouldn't topple off each other.


My handsome groom picked these dowels up at our local Home Depot. I can't be trusted with a drill (or the opening of a champagne bottle but that's a story for another day), so I passed this part of the project on to him.


As previously mentioned, these crates are not exactly identical in measurement but he measured and marked each one as best he could.


The bottom crate received four holes in each corner on top, the middle crate received four holes on the bottom plus four holes on top, and the top crate received four holes on bottom.


His measurements paid off and each crate was fitted with their dowels and connected. I now have some extra storage for my coffee, sugar, mugs, and bowls. This is probably the tidiest each crate will look as I plan on adding extra plates and wine glasses that have been cluttering our cabinets.


~ B

Monday, March 25, 2013

Revitalize Your Vanity

When my husband and I moved into our home, we noticed the previous owner splurged on a couple things to add resale value right before selling. The bathroom vanities were not one of those items. We will, eventually, replace the vanities. For now I decided to give one vanity a little sprucing.

I took off the vanity doors to survey what I was working with:


Not quite off white, not really cream. A yellowish shade with a bronze situation happening. At the very least, a coat of paint was required.

When painting anything I always start with the cleanest surface possible.  


The TSP Solution was probably overkill  but since I had some leftover from painting the cabinets I decided to wipe down the vanity.

I knew I wanted to start with a white base just to get rid of that horrid yellow color. I used a small foam roller and started on the inside of the vanity door.


You can already see the difference a fresh coat of paint can make:


Once the "inside" of the vanity doors were painted and dried, I flipped them over and began painting the fronts. I started by painting the design indent with a 1 inch brush knowing I would be painting the rest with a foam roller.


With both the front and inside vanity doors painted white, I then focused on the stenciling.

I chose my stencil, measured the center of each vanity door, and taped it where I wanted. I have used stencils from Michaels for most of my stenciling projects but I believe I found this one at 
A.C. Moore.


I have only used Martha Stewart craft paint, which can be used on most surfaces, also found at Michaels. Although you can use any of them on their own, I wanted an "antique" look so I mixed the main color I was using with Martha Stewart Crafts Tintable Antique Effect.

Something else to consider is which type of applicator you want to use. I used stencil brushes but you can also use "pouncers" which are basically little foam applicators that you pounce on the stencil (hence the nickname).


When using a "finish effect," whether antique or
otherwise, I first add my color paint then add the effect paint. I mix and add until I have the shade I want. The main rule of stenciling is to keep the paint application light. Too much paint around the edges can cause the design to appear messy.


While not drastic, the change from before to after is enough for me to actually like my vanity now.


The paint was leftover from our cabinet painting project. Most craft stores have weekly coupons and I used mine for the stencils and brushes. This project was pretty low budget.


If you are unhappy with your bathroom vanity but don't want to shell out the money for a new one, a fresh coat of paint and stenciling is a quick and inexpensive solution until you are ready to replace it.


~ B

Monday, March 4, 2013

Cabinet Catastrophes


Besides covering the majority of the 2nd floor with horrific bird
wallpaper, the previous owner, in an effort to add more resale value to the home, installed hardwood floors and granite countertops in the kitchen. If not for these last two things I may have wanted to just gut the room and start from scratch.

 The cabinets were just rubbish, for lack of a better word, and always bothered me.

Besides being poorly made, they were a dull stained wood. New cabinets can be obscenely expensive and even refacing cabinets, while cheaper, is still quite costly.


We did what we could to make it a little nicer. Took down the crumbling chair rail and painted the hospital-white walls a sassy red...


But those cabinets still bothered me so I formed a plan. Instead of buying new cabinets or refacing the ones we had, I would use some leftover paint and create the cabinets I really wanted.


Warning, you have no idea how cluttered your kitchen will look until you take off all your kitchen cabinet doors. Only then will everyone see your inner most secrets. Such as having both crunchy and creamy peanut butter available in your cabinets or the exorbitant amounts of oils and balsamic vinegars you require in your kitchen at all times.


Once we took off all the cabinet doors my clever husband drew a diagram, numbering each one to take the guess work out later. I highly recommend this.

We then kept a piece of paper with each cabinet's number next to it. This makes your lives easier at the end when you have been inhaling paint fumes, you're hungry, and you just want your kitchen put back together. Trust me.


Next you need to decide if you want/need to sand before painting. I was dreading this but I am a big believer in having the best surface you can have before you paint it. Deciding to sand, and painting a cabinet in general, depends on what your cabinets are made of. I was convinced my cabinets were made from cardboard so you can imagine my delight when Stan,  a retired painter and current HD employee, told me it was actually oak (albeit a cheap one). He also assured me I could skip the sanding if I used a TSP Substitute instead. *Disclaimer - I cannot say this would work for everyone, but it did the job for me.*


Once I wiped down the cabinet doors, drawers, and structure with the TSP Solution, I began painting the cabinets. I put the cabinet doors face down on the tarp and painted the inside of the doors first, figuring if I messed up in the beginning people wouldn't see the inside as often as they do the outside. Clever, right?

I used a 2 inch paint brush for the frame part of the door and a foam roller for the inside part of the door.  This was Stan's advice and it worked very well. Each side received two coats.


The drawers were pretty simple, I didn't bother to empty them. Just propped them up with old paperback books and painted the front of them.


I then wiped down the cabinet frames with TSP Solution and painted 2 coats on there as well. It goes without saying that you need to section off everything with painter's tape and cover anything you don't want paint on with a plastic tarp.


Here is the end product:


Paint and new hardware is a cheap and easy solution to upgrading your kitchen. Next entry is a new backsplash....

~ B