Tuesday, April 23, 2013

Terra Cotta Terror

I'm not sure how many plants need to die before I admit I do not have a knack for gardening. I cannot grow something from the very beginning, a seed, but if you have a plant already growing and need help keeping it alive (by simple watering) then I am your gal. I recently decided that I would forgo buying dried ingredients to use for cooking and just grow (maintain) my own. I had seen little herb plants in the grocery store and Home Depot and by God my homemade marinara deserves fresh oregano. But those terra cotta pots are pretty ugly. 


It's easiest to spray these upside down so I flipped them and covered them with primer spray paint. The containers around them are to hold down the paint tarp. It was windy that day.


Only the top rim parts were being painted. I used painters tape to section off where I wanted the paint.


\


Now all top sections are painted. Per usual I used Martha Stewarts All Purpose Craft Paint from Michaels.


Once the paint had dried, I used more painters tape to prep for the chalkboard paint I was about to apply.


Chalkboard paint is becoming pretty popular in the craft world. While I used it in regular bottle form, you can also find it in a spray paint.


The instructions stated that at least two coats were needed. I did three coats on two and four on the other one (the yellow, being light, needed a bit extra).


Each pot received a stencil as well, you know I can never resist.


The chalkboard paint needs 24 hours to dry before it is ready to be used. Once the chalkboard paint was dry, I removed the painters tape and "cured" it by rubbing chalk across it a few times, then erasing.


It's been almost a week and my herb plants are still alive!


Moral of the story, even if you cannot grow a plant to save your life, just buy them already grown and make a decorative pot to put them in to compensate.


~ B

Saturday, April 13, 2013

Decorative Dish Soap

There are certain things you don't really know about yourself until you live with someone. Everyone has their quirks and while I am no neat freak (far from it), I am a bit obsessive about keeping dishes from sitting in the sink and my counter top clear. People say you should have serious talks about kids and finances before you marry but nobody warns you of dish washing. I am an instant scrubber/washer and my husband gives dishes a lengthy soak before scrubbing and rinsing. Because of this he requires the dish soap to be readily accessible (on the counter top by sink) while I like to hide my dish soap under the sink as fast as humanly possible (I told you, I'm a bit obsessive). A wise person once said "marriage is about compromise,"*  so I set off to find a way to keep the dish soap handy without me being tempted to squirrel it away.

* Another wise person once said "Love is a Battlefield" but we'll stick with compromise for the sake of this argument.

I keep a lot of containers to re-use. Most of the time I don't know what I'll be using them for so I wash and dry them, then store them away. I saved this squiggley glass bottle just because it was different.


Before painting glass I wipe it down with some rubbing alcohol and let it air dry.


Any type of glass container will do. This one happens to be from Rose's Cocktail Infusions Blue Raspberry Martini, if you must know.


Here are the supplies I needed:
~ Stencils 
~ Pouncers (or brushes)
~ Stencil adhesive
~ Craft paint (I use Martha Stewart's multi-surface paint from Michaels )


The letter stencils happened to be self-adhesive so I only needed to line them up where I wanted on the bottle.


The usual rules with stenciling: A little goes a long way. 


No matter how careful, mistakes can happen. The great thing about stenciling on glass is that most mistakes can be removed just by using a toothpick.


Stencil adhesive is not always necessary. I have used painter's tape to hold stencils in place previously but this particular star stencil had thin cut outs and I wanted to make sure the paint would stay within the stencil.


Most stencils can be cleaned with windex and a paper towel.


I put stars above and below the lettering as well as along the back of the bottle.


Once all the painting was done, I took the bottle outside and sprayed it with a clear sealant.


So, at the end of the day. I did concede to leave the dish soap on the sink counter top. But instead of this:


We now have this:


You can paint any glass bottle you have to hold dish soap, olive oil, or anything you want to keep handy when cleaning or cooking and still keep your counter top looking a little fancy.

The soap bottle has been out for a whole week and I haven't attempted to hide it once. 


~ B


Wednesday, March 27, 2013

A Trendy Tray Table

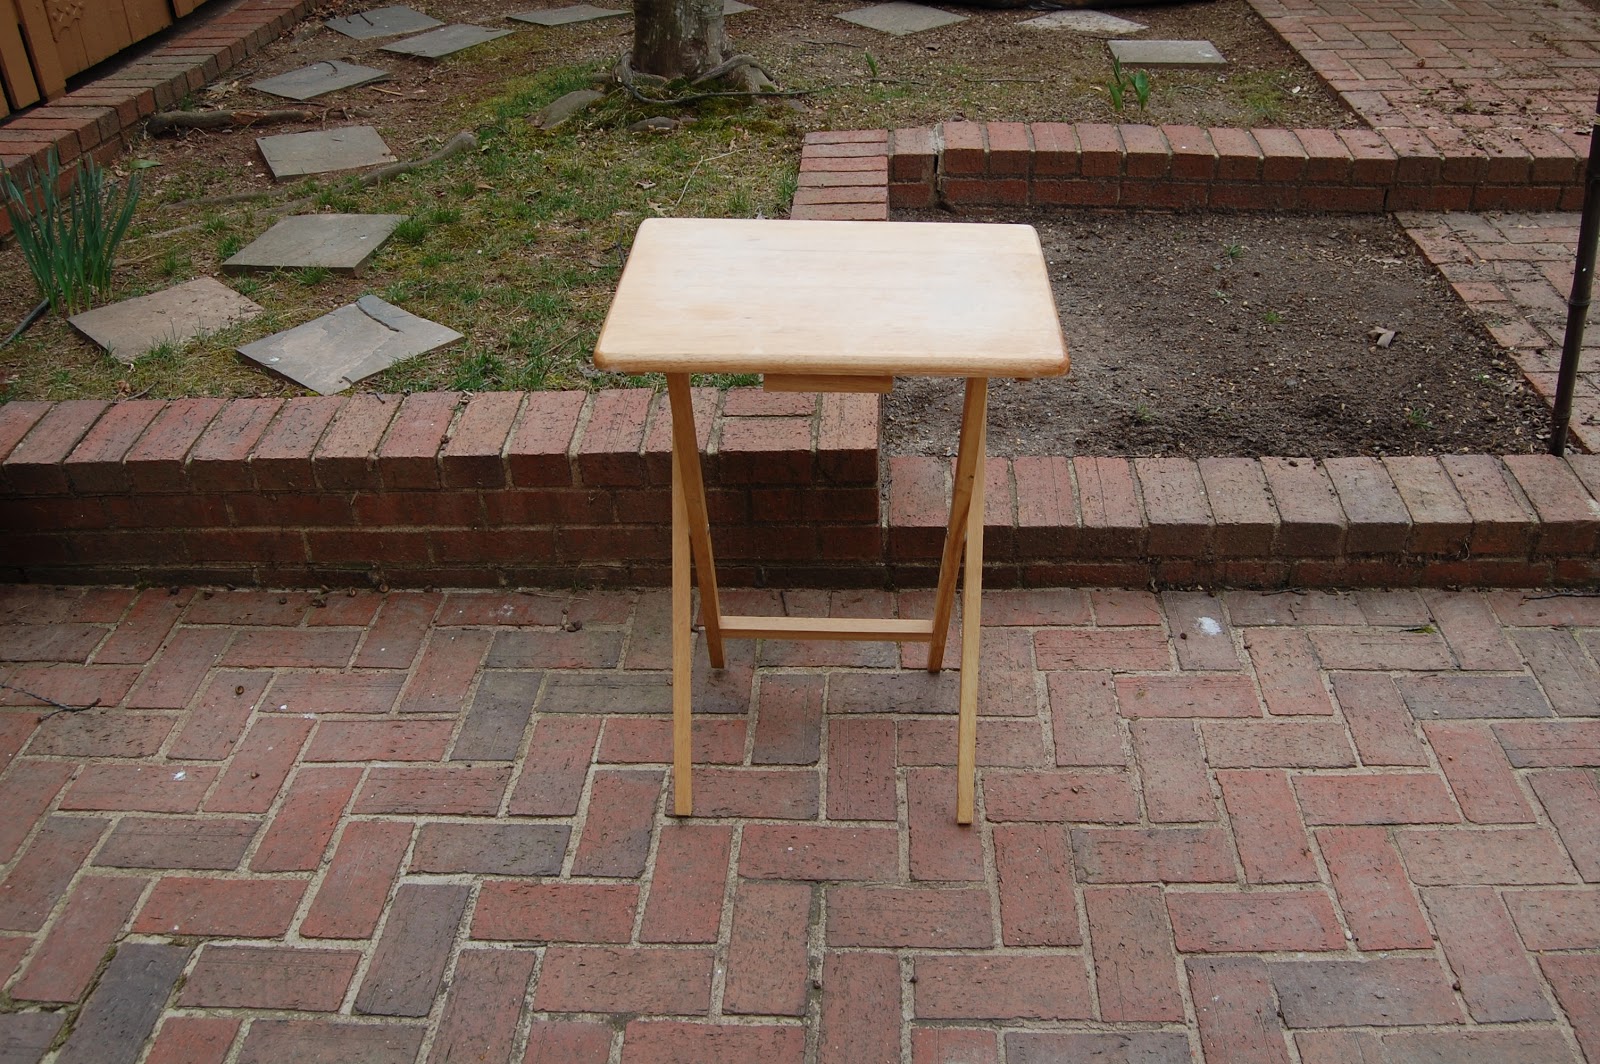
Before we were married, my husband acquired a tray table. This tray table somehow made every move and often found itself right next to his lazy boy, dutifully holding his lap top and drink. Eventually we found a better side table and this tray table's days were numbered. I just hate tossing something that is not broken and we did need a table upstairs so I decided to save it. But this table needed a new look.


This will not be an "every day" table. Just an extra side table for entertaining.


I sanded the table down, then washed it. I like a clean, smooth surface when painting.


Flipped it upside down and sprayed it with primer. Flipped it right side up and primed the top and edges.


Once the primer had fully dried, I prepped the top of the table for painting.


I taped off the edges and used a 1 inch brush to paint along each side.

I used a foam roller to fill in the rest.


Foam rollers are a great alternative to brushes, especially if you are painting wood and do not want the grain to show through.

~ An important message regarding painter's tape ~

I use painter's tape often but it took me one time of tearing off the majority of the fresh paint I had put on our crown molding to realize how patient you have to be when using it. Now, when paint is dried, I slowly tear it off in a downward diagonal motion (see picture above). This has saved a lot of heartache and unfortunate language being shouted.

~ Now on to stenciling ~

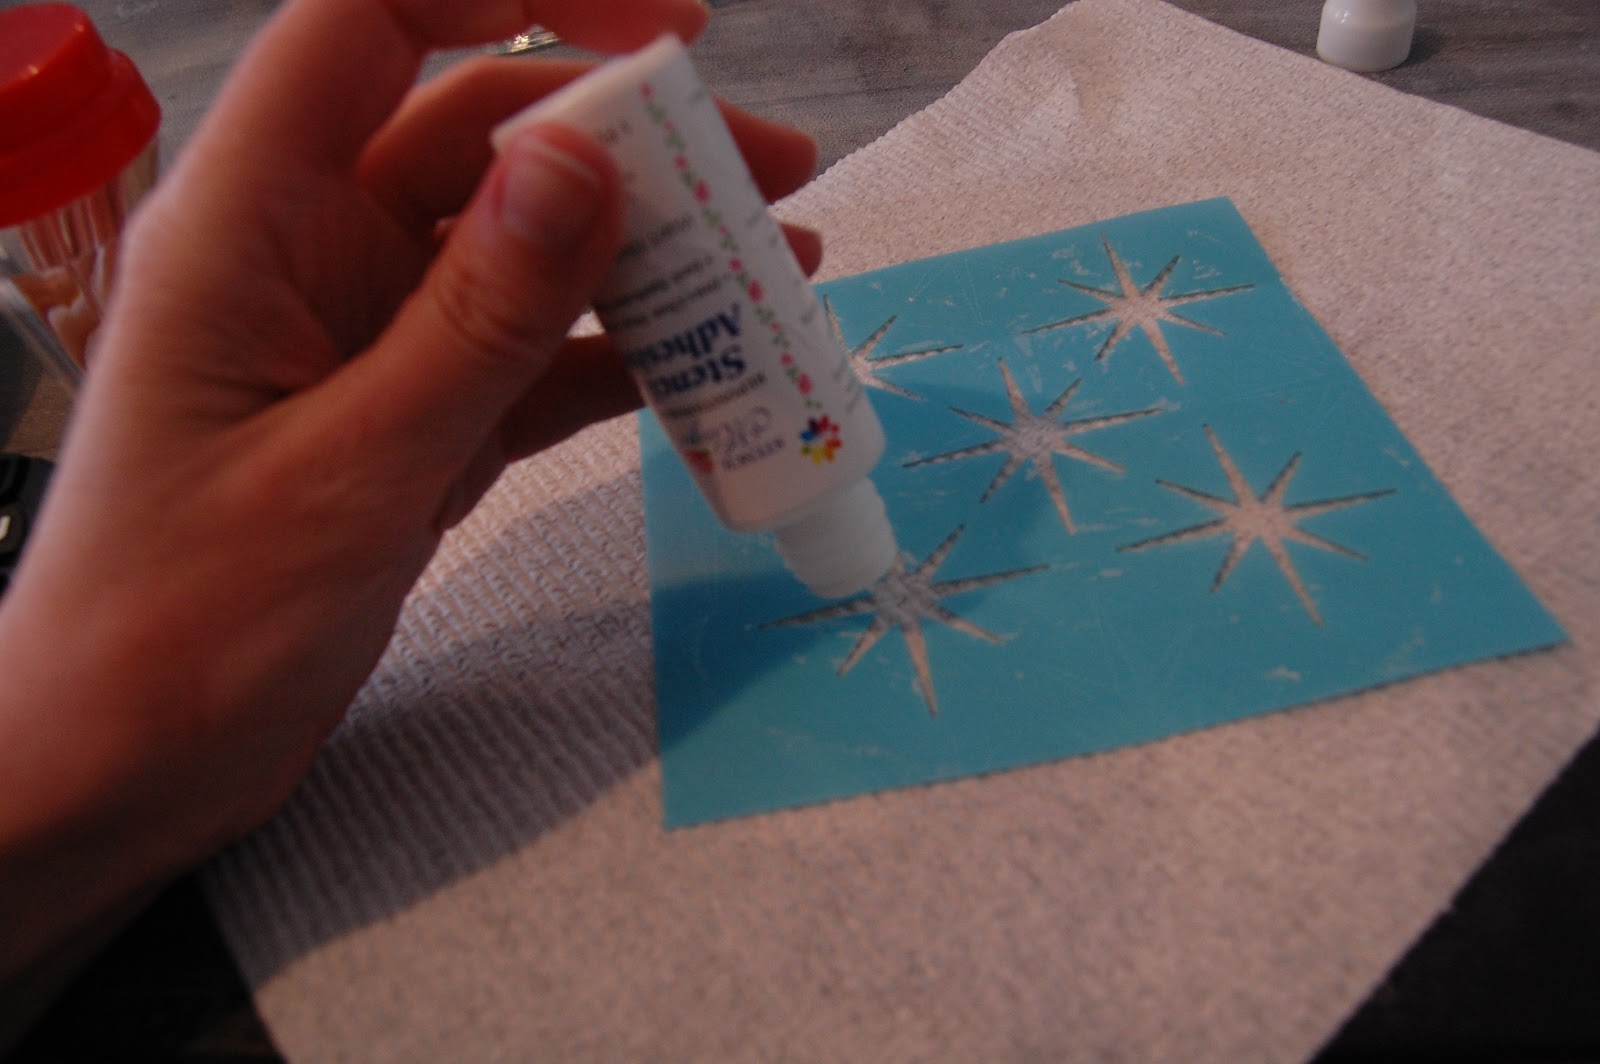
This was the first time I used stencil adhesive and I've been wondering where it has been all my life. I dabbed it around the stencil, waited for it to dry, and positioned it where I wanted.


A little paint goes a long way when stenciling. Whether using a foam pouncer or a brush, I always get rid of excess paint and dab the applicator a few times before applying.

As usual I used Martha Stewart's multi-surface craft paint that I bought at Michaels. Besides being able to use it on various surfaces, it can also be mixed with other paints or finishes to get the desired effect you're looking for. For example I used a dark brown (Vanilla Bean) and mixed it with a glitter paint (Smokey Quartz) to paint one of the branches.


When the stenciling was finished and all the paint was dry, I took the table outside and sprayed it with sealant.


A little craft paint and some stencils can take an old (random) tray table and turn it into a decent side table for drinks & appetizers.


~ B

Monday, March 25, 2013

Revitalize Your Vanity

When my husband and I moved into our home, we noticed the previous owner splurged on a couple things to add resale value right before selling. The bathroom vanities were not one of those items. We will, eventually, replace the vanities. For now I decided to give one vanity a little sprucing.

I took off the vanity doors to survey what I was working with:


Not quite off white, not really cream. A yellowish shade with a bronze situation happening. At the very least, a coat of paint was required.

When painting anything I always start with the cleanest surface possible.  


The TSP Solution was probably overkill  but since I had some leftover from painting the cabinets I decided to wipe down the vanity.

I knew I wanted to start with a white base just to get rid of that horrid yellow color. I used a small foam roller and started on the inside of the vanity door.


You can already see the difference a fresh coat of paint can make:


Once the "inside" of the vanity doors were painted and dried, I flipped them over and began painting the fronts. I started by painting the design indent with a 1 inch brush knowing I would be painting the rest with a foam roller.


With both the front and inside vanity doors painted white, I then focused on the stenciling.

I chose my stencil, measured the center of each vanity door, and taped it where I wanted. I have used stencils from Michaels for most of my stenciling projects but I believe I found this one at 
A.C. Moore.


I have only used Martha Stewart craft paint, which can be used on most surfaces, also found at Michaels. Although you can use any of them on their own, I wanted an "antique" look so I mixed the main color I was using with Martha Stewart Crafts Tintable Antique Effect.

Something else to consider is which type of applicator you want to use. I used stencil brushes but you can also use "pouncers" which are basically little foam applicators that you pounce on the stencil (hence the nickname).


When using a "finish effect," whether antique or
otherwise, I first add my color paint then add the effect paint. I mix and add until I have the shade I want. The main rule of stenciling is to keep the paint application light. Too much paint around the edges can cause the design to appear messy.


While not drastic, the change from before to after is enough for me to actually like my vanity now.


The paint was leftover from our cabinet painting project. Most craft stores have weekly coupons and I used mine for the stencils and brushes. This project was pretty low budget.


If you are unhappy with your bathroom vanity but don't want to shell out the money for a new one, a fresh coat of paint and stenciling is a quick and inexpensive solution until you are ready to replace it.


~ B